
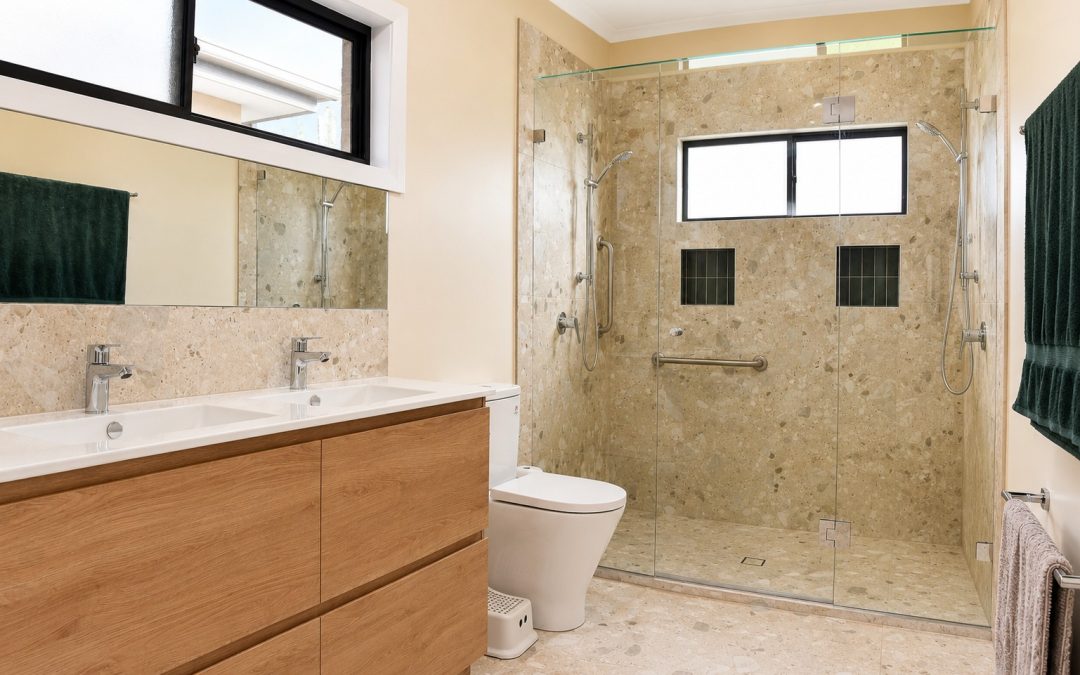
A custom shower screen is measured once the wall and floor tiles are laid, but the decisions that affect it are made much earlier.
In this guide I talk about common mistakes I come across and explain what to consider during planning, framing, plumbing and tiling so the bathroom is ready for an accurate shower screen measure and a clean installation.
Five key planning principles before the shower screen measure
These are the details most likely to affect the final result.
Plan the shower screen before finalising the bathroom layout
The shower screen layout should be considered during the planning stages. It helps to understand what can and cannot be achieved with shower screen glass.
Towel rails, nearby door architraves, vanities and toilets can interfere with the shower door. In some bathrooms an infill panel can be added to create clearance needed for the door.
Around 600 mm is generally enough for an average size person. For disabled access, plan approximately 700 to 800 mm, subject to the requirements of the project.
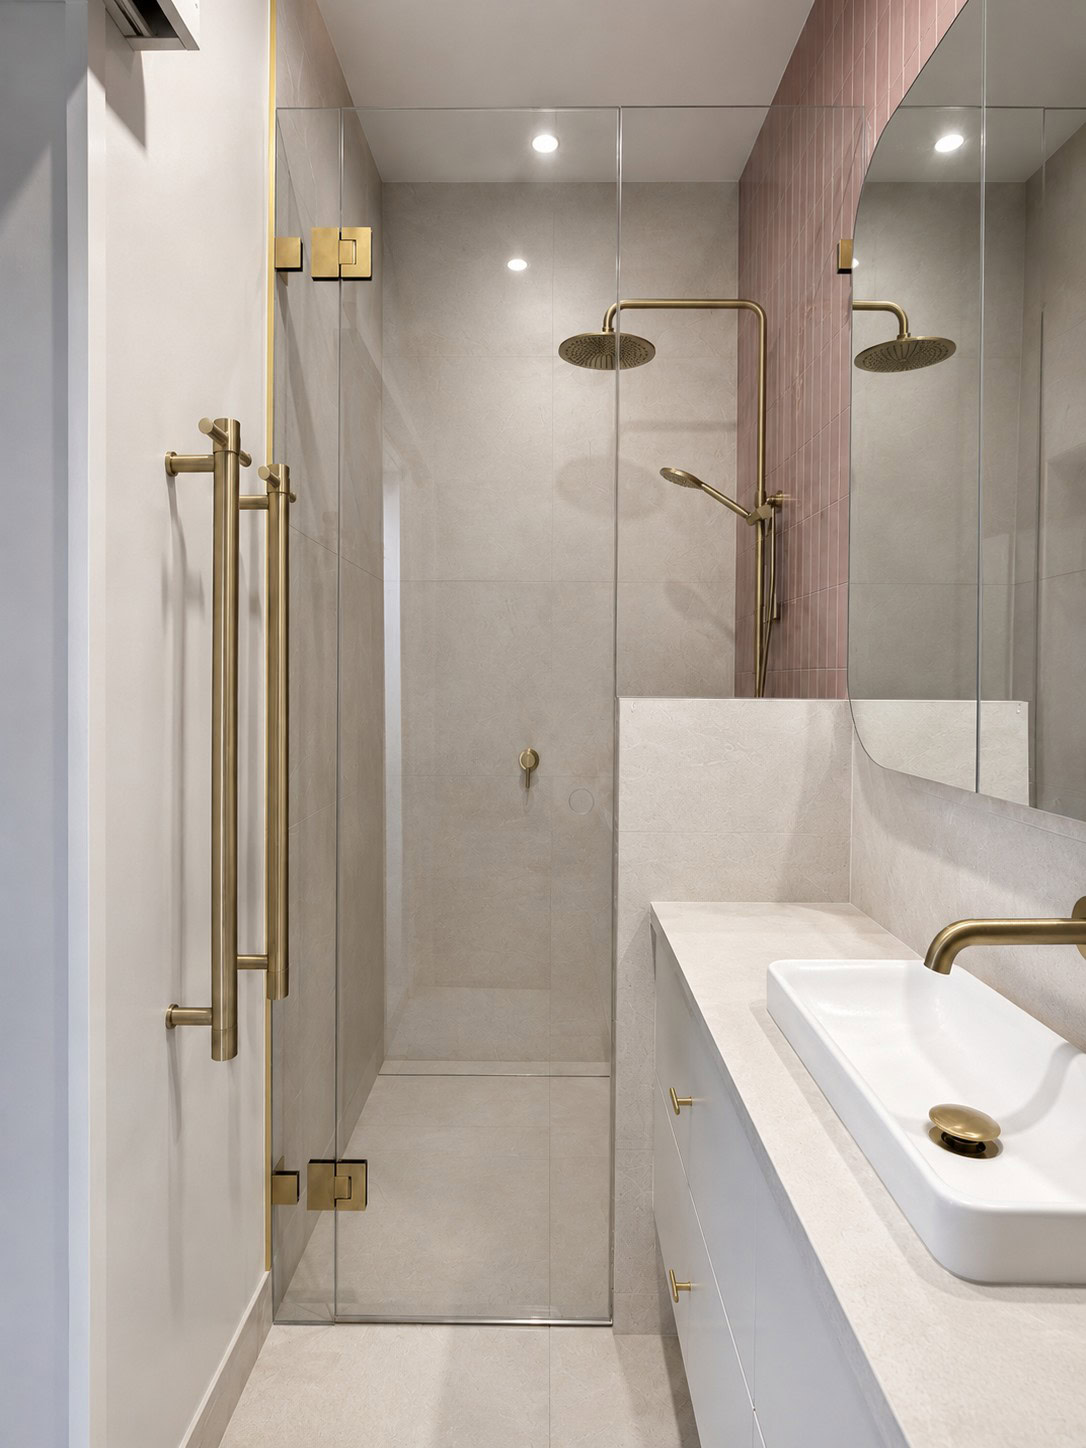
A shower door may technically fit into the opening but still feel awkward if it opens directly into another fixture. In tight bathrooms, the dimensions and planned positions of nearby fixtures should be available during the measure, even when they have not yet been installed. In this South Morang bathroom, a small infill panel allowed the door to clear the towel hooks and kept the opening away from the vanity.
Choose a configuration that suits the available width
A walk in shower screen only works well when there is enough width for useful glass coverage and comfortable access.
Our minimum general recommendation is about 800 mm of fixed glass while still leaving around 600 mm for the walkway. When the available width cannot provide both, a fix and swing configuration may be more practical.


Allow proper wall support during framing
The overall shower screen design should be confirmed before the walls are closed, because the glass configuration determines where structural support is needed.
A heavy frameless hinged door needs solid timber behind the wall. Sliding screens should also have blocking where the top rail will be fixed. These details are easy to allow for during framing and difficult to correct once the bathroom is finished.
Where suitable support is missing, the configuration may need to change. In some bathrooms this means using a hinged infill panel so the door load is carried away from an unsupported wall or cavity wall.
Photograph the stud and blocking locations. Keep plumbing pipes and electrical cables secured away from likely fixing points.
Position the timber behind the hinge plate
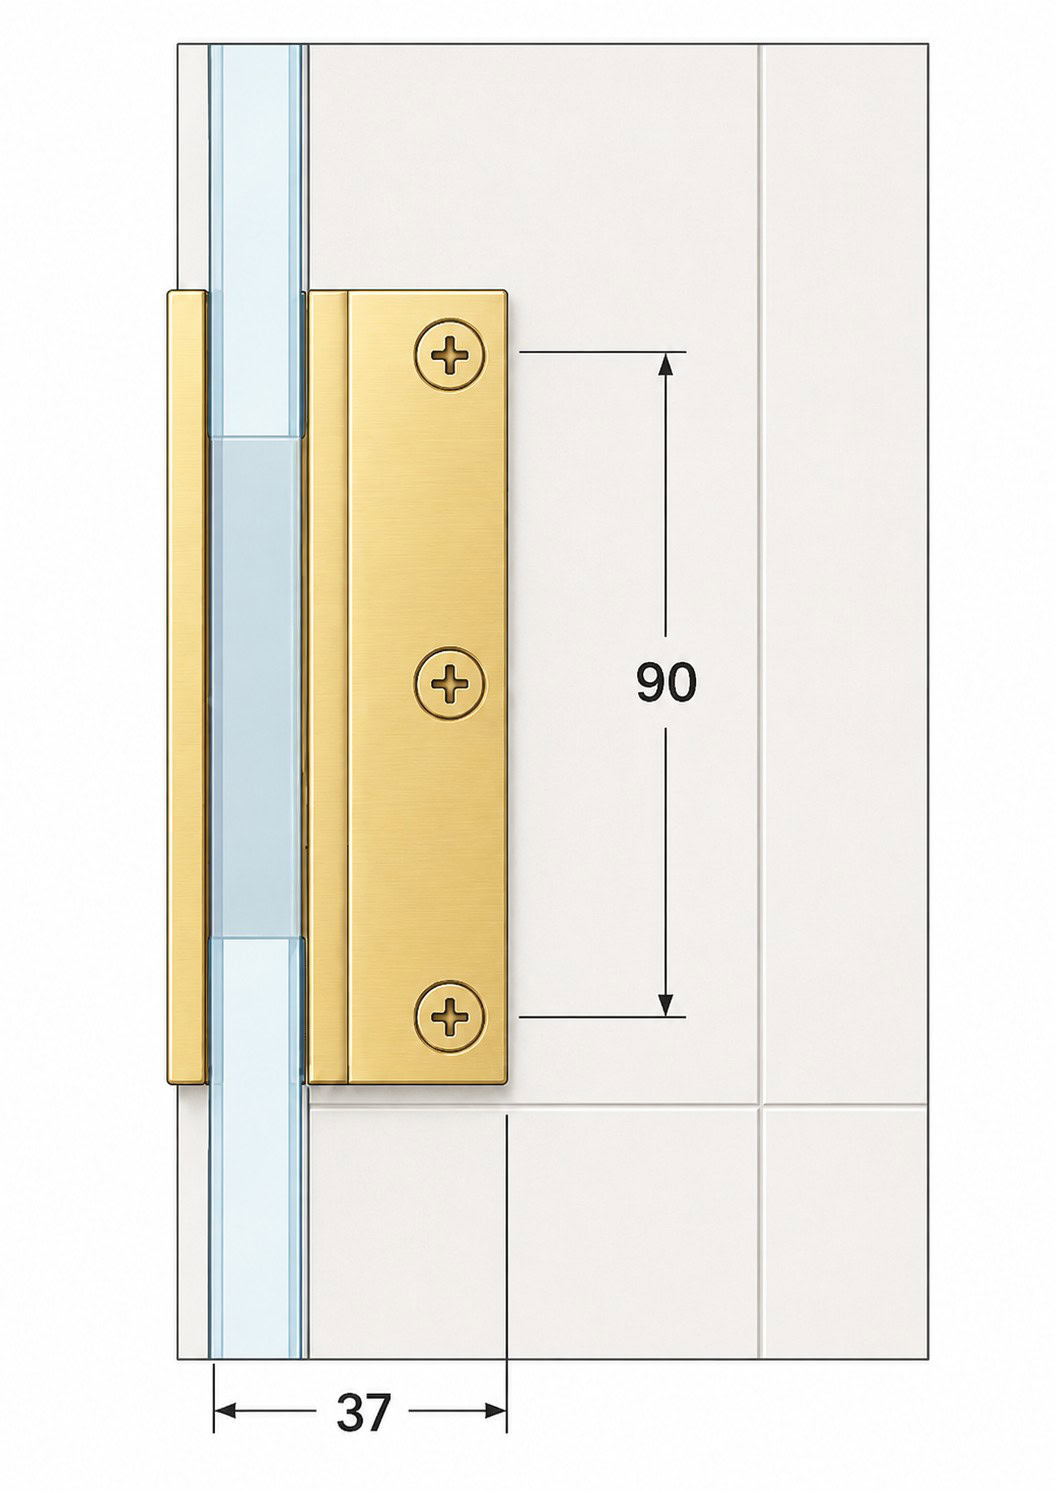
The hinge plate is not centred directly under the glass. It sits on the inside of the enclosure, so the double stud should be offset slightly into the shower to place solid timber behind the fixing screws.
This provides the installer a reliable fixing point and helps the wall safely carry the weight and movement of the door.
Flat walls matter more than perfectly plumb openings
A wall can run out and still produce a clean result if it follows one consistent straight line and the glass is measured correctly.
We have measured and installed screens where a wall was running out by as much as 30 mm. If the wall is straight, the glass can be cut with a rake to suit. A bowed or wavy wall is more difficult because it can leave inconsistent gaps.
These need to be straight and plumb. The shower door must be installed plumb and level to operate correctly, so a crooked nib wall can remain visibly crooked beside the finished glass.
Avoid planning windows through the shower line
A low window inside the shower can limit fixing positions and restrict the available glass configuration.
When a window is positioned beside the shower, try to keep it clear of the shower base line. We can often find a workable solution, but better window placement gives the shower screen far more flexibility.

Plan niches, grout lines, trims and the water stop carefully
Frameless glass is commonly installed with only about 2 to 3 mm between the glass and the adjoining wall or floor. Raised tile edges, protruding trims and uneven finishes can interfere with the final glass position.
- Position the wall grout line, so it aligns with the floor base and sit behind the glass rather than a few millimetres beside it.
- Install the water, so once tiled, it stays consistent with the tiled surface
- Avoid messy grout or waterproofing that needs scraping from the fixing area.
Plan the shower head, mixer and floor fall for water control
A frameless shower door cannot be completely watertight. For a handheld or rail shower, whenever possible, position the outlet so it faces a fixed panel rather than the opening. Rain heads are less affected by direction, but the opening should still be kept away from the main spray where practical.
- Place the mixer where it can be reached without standing under the shower.
- Make sure the tiled floor falls correctly towards the waste.
- Poor fall can cause pooling, overflow and premature silicone failure.
- A typical frameless door needs clearance underneath so it can swing without rubbing on the floor.
When is the bathroom ready for the final measure?
The wall and floor tiles need to be fully laid before the shower screen is measured. You do not necessarily need to wait for the tiles to be grouted, which can save time on a tight renovation schedule.
- The exact lines where the glass will sit
- Whether the walls are flat and plumb
- The floor level along the glass line
- Grout lines, trims and nearby fixtures
- Door clearance, glass height and hardware finish
Plans and rough dimensions are useful for early advice and approximate pricing. Final glass sizes and the exact configuration should still be confirmed from the finished tiled bathroom.
Bathroom planning checklist
Before closing the walls
- Allow additional timber support along the shower line
- Provide blocking for sliding screen rails where required
- Position windows clear of the shower line
- Keep plumbing and electrical services away from likely fixing points
- Photograph the stud and blocking locations
Before tiling
- Confirm the likely shower screen configuration
- Check the entry width and door swing
- Plan grout lines, trims and the water stop
Before the measure
- Complete the wall and floor tiling
- Have fixture dimensions and positions available
- Have the shower head available where possible
- Confirm the tapware and preferred hardware finish
Frequently asked questions about shower screen planning
When should a shower screen be measured?
The final measure should be completed after the wall and floor tiles are fully laid.
How wide should a shower entrance be?
Around 600 mm is generally suitable for an average size person. Projects requiring accessible entry may need approximately 700 to 800 mm, depending on the project requirements.
Does a frameless shower door need timber support?
Yes. A heavy wall hung glass door requires suitable timber reinforcement behind the fixing area. The support should be planned before the walls are closed.
How much clearance does a frameless shower door need?
The exact clearance depends on the hardware and configuration. A typical frameless door also needs enough clearance underneath to swing freely without rubbing on the finished floor.
Plan early, then measure from the finished bathroom
The final shower screen measure happens near the end of the renovation, but the preparation starts at the beginning.
Planning the opening, support, fixtures, water direction and finished surfaces early gives you more options and reduces the chance of poor gaps or an awkward configuration.
- Flat walls and straight tiled surfaces
- Thoughtful grout line and trim placement
- Proper wall reinforcement
- Enough room for access and door movement
- A configuration suited to the actual bathroom
Planning a bathroom renovation?
Send through your bathroom plans, photos and approximate dimensions. We can help identify the likely shower screen configuration and any framing or layout details worth allowing for before the bathroom is finished.